Cloud lettering is one of the most fun and eye-catching hand lettering styles you can learn. These fluffy, puffy letters look like they're floating in the sky, with soft rounded edges that mimic real clouds. Whether you've seen them on Instagram reels, TikTok tutorials, or Pinterest boards, cloud letters are everywhere right now -- and for good reason. They're playful, surprisingly easy to learn, and look absolutely stunning on everything from journal covers to birthday cards.
In this guide, we'll walk you through everything you need to know to draw cloud letters from scratch, including the tools, techniques, and tips that will make your cloud lettering look professional and polished.
What Are Cloud Letters?
Cloud letters are a style of hand lettering where each letter is drawn to resemble a fluffy cloud. The defining characteristics are:
- Bumpy, rounded outlines: instead of smooth curves, the edges of each letter are made up of small, overlapping bumps that look like cloud puffs.
- Soft, inflated appearance: the letters look three-dimensional and puffy, as if they're filled with air.
- Light and airy color palette: whites, soft blues, pastels, and gentle gradients are commonly used.
- 3D shadow effects: a subtle shadow beneath or behind each letter enhances the floating, three-dimensional illusion.
- Playful and whimsical mood: cloud lettering naturally feels lighthearted, making it perfect for fun, casual, and creative projects.
Tools You'll Need
The great news is that cloud lettering doesn't require expensive or specialized tools. Here's what you'll want to have:
- Pencil (HB or 2B): for sketching the basic letter shapes and cloud outlines before committing to ink.
- Fine-tip pen (0.3-0.5mm): a Micron or similar pen for inking your final cloud outlines with precision.
- Thick marker or brush pen: for filling in letters or adding bold outlines. Tombow Dual Brush Pens work beautifully for this.
- Colored pencils or pastels: for adding soft shading and gradient effects that enhance the cloud illusion.
- White gel pen: essential for adding highlights and sparkle details that make your cloud letters pop.
- Smooth paper or practice workbook: a good surface prevents ink bleeding and allows for clean, crisp lines.
Step-by-Step: How to Draw Cloud Letters
Step 1: Sketch Your Base Letters
Start by lightly penciling simple block letters. Don't worry about making them perfect -- you just need the basic shape and proportions. Use uppercase letters for the best cloud effect. Keep your letters thick and wide; thin letters are harder to turn into convincing clouds. Leave generous spacing between letters so the cloud puffs don't overlap between characters.
Step 2: Add the Cloud Bumps
This is the step that transforms ordinary letters into cloud letters. Go around the outline of each letter and replace every straight edge and smooth curve with a series of small, overlapping semicircles or bumps. Think of drawing tiny bubbles along the edge of each letter. The bumps should vary slightly in size for a natural, organic look -- perfectly uniform bumps look mechanical rather than cloud-like. Work slowly and rotate your paper as needed to keep the bumps consistent.
Step 3: Ink Your Cloud Outlines
Once you're happy with your pencil sketch, go over the cloud bumps with your fine-tip pen. Use confident, smooth strokes for each bump. Let the ink dry completely before moving to the next step. This patience prevents smudging and keeps your lettering crisp.
Step 4: Add 3D Depth
To make your cloud letters look three-dimensional, add a shadow layer. Choose a consistent light direction (top-left is most common) and draw a second set of cloud bumps offset slightly down and to the right of your original outline. Connect the shadow bumps to the original letter to create a solid 3D effect. Fill the shadow area with a light gray or soft blue.
Step 5: Color and Shade
Fill the body of each letter with white or a very light color. Then add subtle shading: use a light gray or soft blue along the bottom and right edges of each letter to suggest depth and roundness. Blend gently with a blending stump or your finger. The shading should be subtle -- too much and the letters lose their airy, cloud-like quality.
Step 6: Add Highlights and Details
Use a white gel pen to add small highlight dots and curved shine marks on the upper-left portion of each letter (where the "light" hits the cloud). You can also add tiny stars, sparkles, or small floating cloud puffs around the letters for extra whimsy. These finishing touches make a huge difference in the final result.
Tips for Better Cloud Lettering
- Keep bumps random: perfectly even bumps look unnatural. Vary the size slightly for a more realistic cloud effect.
- Use reference photos: look at real clouds or cloud illustrations for inspiration on shapes and shading.
- Practice the bumps separately: before tackling full letters, practice drawing rows of cloud bumps to develop muscle memory.
- Try different weights: experiment with thick outlines versus thin outlines. Thicker outlines create a bolder, more graphic look.
- Layer your colors: build up shading gradually rather than applying heavy color in one pass.
- Add a sky background: drawing your cloud letters on a blue gradient background instantly makes them look more realistic and dramatic.
Creative Ways to Use Cloud Lettering
Once you've mastered the technique, there are endless ways to apply cloud lettering:
- Journal covers and headers: make your bullet journal or planner pages stand out with dreamy cloud titles.
- Social media content: cloud lettering is incredibly popular on Instagram and TikTok. Film a time-lapse of your process for engaging content.
- Birthday and greeting cards: personalized cloud lettering adds a special handmade touch to any card.
- Room decor and art prints: frame your best cloud lettering pieces as wall art. Names, quotes, and single words work particularly well.
- Sticker designs: turn your cloud letters into custom stickers for laptops, water bottles, and notebooks.
From Cloud Letters to More Creative Styles
Cloud lettering is part of a broader family of creative, illustrative lettering styles. If you enjoy drawing cloud letters, you'll love exploring other fun styles like bubble letters, balloon letters, neon glow letters, and comics-style lettering. Each style uses similar techniques -- building up letter shapes, adding 3D effects, and incorporating creative details -- but produces a completely different visual result.
A structured workbook is the fastest way to build your skills across multiple creative lettering styles. With guided alphabets, step-by-step exercises, and progressive difficulty levels, you can develop the confidence and muscle memory needed to create stunning hand-drawn typography.
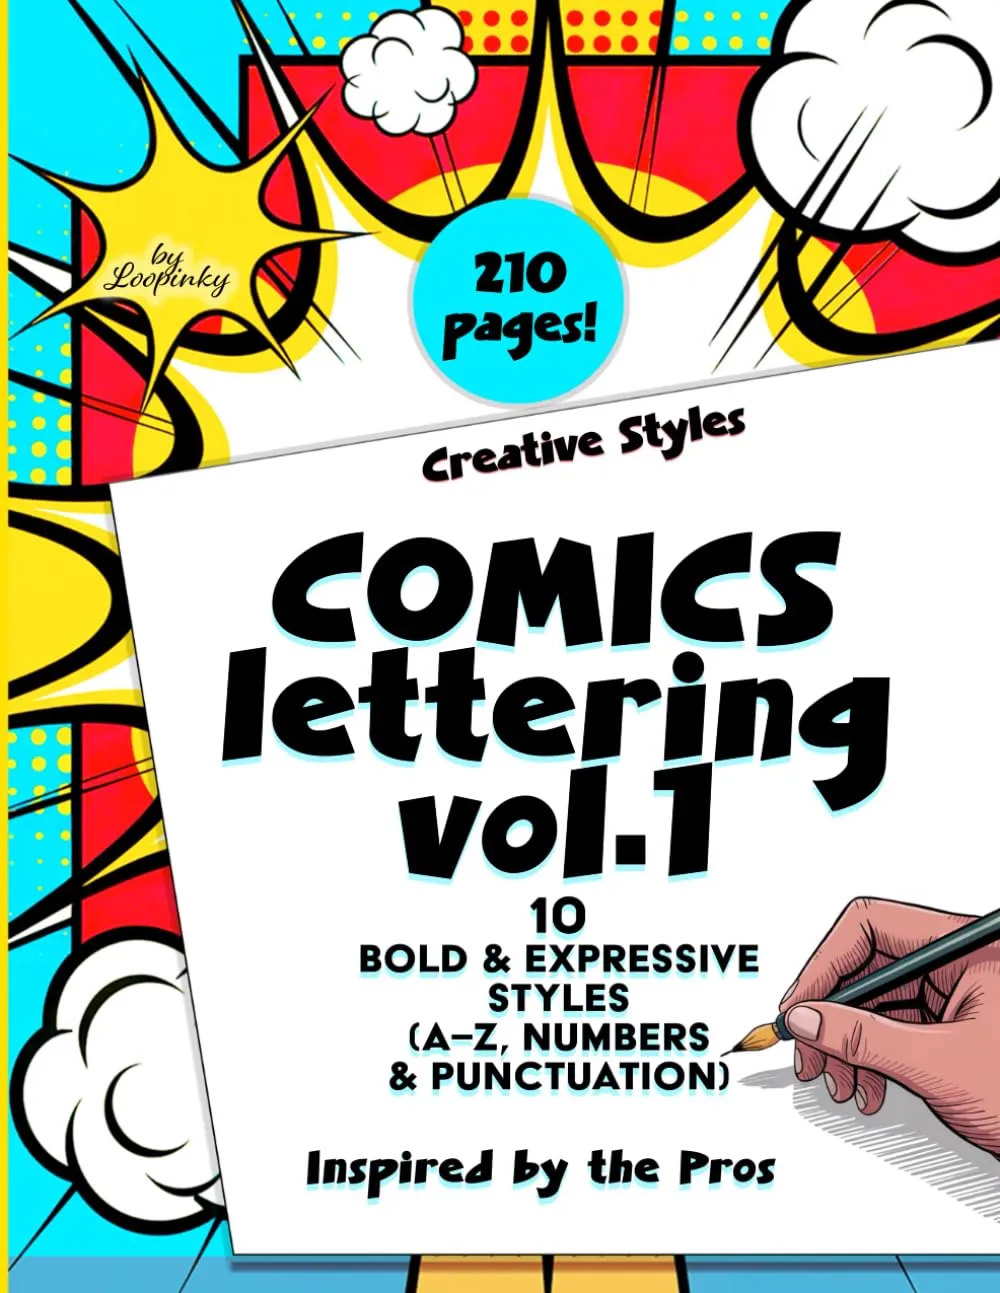
Comics Lettering Vol.1
10 bold creative lettering styles including bubble, block, and expressive hand-drawn alphabets. Complete A-Z, numbers and punctuation. 210 pages of guided practice.
Buy on Amazon - $14.99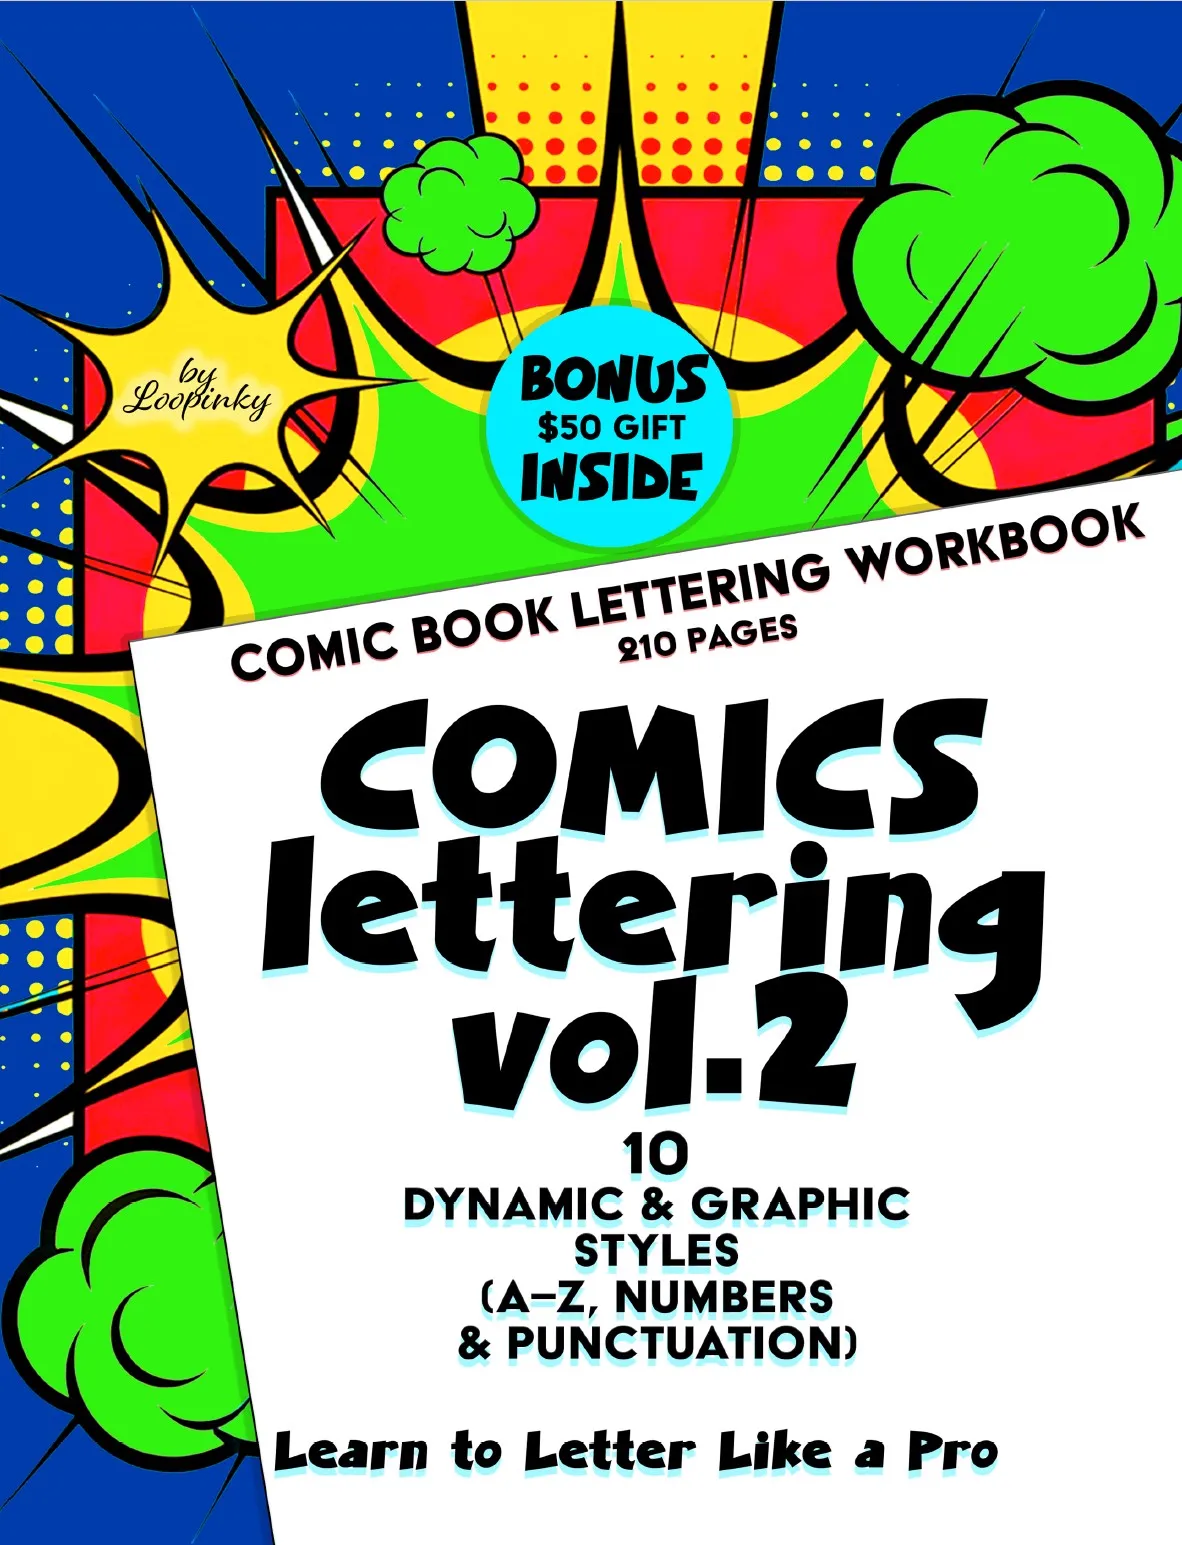
Comics Lettering Vol.2
10 additional dynamic lettering styles with bonus content worth $50. More creative alphabets, numbers and punctuation. 210 pages.
Buy on Amazon - $14.99Cloud lettering turns ordinary words into dreamy works of art. With a pencil, a pen, and a little patience, you can create letters that float right off the page.
Ready to explore more creative lettering styles? Browse the full Loopinky collection and discover workbooks packed with fun, bold hand lettering techniques.