Calligraphy might seem intimidating at first, but here's the truth: anyone can learn it. You don't need beautiful handwriting, artistic talent, or expensive equipment. All you need is the right tools, a practice workbook, and a little patience. This guide covers everything you need to start your calligraphy journey today.
Understanding the Different Styles
Before buying any supplies, it helps to understand what kind of lettering you want to learn. These terms are often confused, so let's clarify:
- Calligraphy is the art of beautiful writing using specific strokes. The key principle: thick downstrokes and thin upstrokes. This creates the characteristic contrast that makes calligraphy look elegant. Traditional tools include dip pens and brush pens.
- Hand lettering is drawing letters as artwork. Each letter is "designed" rather than written in a single stroke. Comics lettering, bubble letters, and decorative typography fall into this category.
- Cursive handwriting is connected writing where letters flow into each other. Western, romantic, and modern script styles are variations of cursive.
All three are valid and rewarding skills. Many artists practice all of them. The question is: which one do you want to start with?
Essential Tools for Beginners
Brush Pens (Best for Calligraphy)
For modern calligraphy and cursive scripts, brush pens are the most popular tool. They have a flexible tip that creates thick and thin strokes naturally based on the pressure you apply.
Recommended brush pens for beginners:
- Tombow Fudenosuke (hard tip): the most recommended beginner brush pen. The hard tip gives you more control while still producing beautiful thick-thin contrast. Affordable and widely available.
- Pentel Sign Pen Brush: a step up in flexibility. Slightly more challenging but produces more dramatic stroke variation.
- Tombow Dual Brush Pens: larger tips for bolder calligraphy. Great for headers and decorative pieces, but harder to control for small lettering.
Fine-Tip Pens (Best for Hand Lettering)
For comics lettering and hand lettering, you don't need brush pens. Regular fine-tip pens or felt-tip markers work perfectly since you're drawing letters rather than writing them.
- Micron pens (0.3 - 0.5mm): industry standard for precise line work
- Felt-tip markers: great for filling in bold lettering styles
- Any pen you have: seriously, you can start with a regular ballpoint pen
Paper
Paper matters more than you might think, especially for brush pens. Rough paper destroys brush pen tips quickly.
- Smooth marker paper is ideal for brush pen calligraphy
- Practice workbooks (like those from Loopinky) are printed on suitable paper
- HP Premium LaserJet paper is a popular budget option for loose practice sheets
- Avoid regular notebook paper and printer paper for brush pens
Your First Practice Session
Step 1: Basic Strokes
Don't start with letters. Start with basic strokes. Every calligraphy alphabet is built from the same fundamental movements:
- Downstrokes (thick): pull the pen toward you with firm pressure
- Upstrokes (thin): push the pen away from you with light pressure
- Overturn: a curved stroke that goes from thin (up) to thick (down)
- Underturn: a curved stroke that goes from thick (down) to thin (up)
- Oval: a full rounded shape combining overturns and underturns
Practice each stroke on its own, filling entire lines. This builds the muscle memory you need before attempting full letters.
Step 2: Individual Letters
Once your basic strokes feel natural, move on to lowercase letters. Start with simple ones:
- Group 1 (underturns): i, u, t, l
- Group 2 (overturns): n, m, r, v, w
- Group 3 (ovals): a, o, c, e, d
- Group 4 (ascenders): b, f, h, k
- Group 5 (descenders): g, j, p, q, y
Step 3: Words and Connections
After you're comfortable with individual letters, practice connecting them into words. Start with short words (3-4 letters) and gradually increase length. Focus on maintaining consistent letter spacing and slant angle.
Practice Tips for Faster Progress
- Practice daily: 15-20 minutes every day beats 2 hours once a week. Muscle memory develops through frequency, not duration.
- Use a workbook: structured exercises with guided practice lines ensure you develop correct technique from the start.
- Go slow: speed comes naturally with practice. Rushing creates sloppy habits that are hard to unlearn.
- Trace first, then copy: tracing helps your hand learn the movement. Then practice without the guide.
- Don't compare: your day 1 will not look like someone's year 5. Focus on your own progress.
Recommended Workbooks to Get Started
A good practice workbook provides structure, guided exercises, and progressive difficulty. Here are our recommendations depending on the style you want to learn:
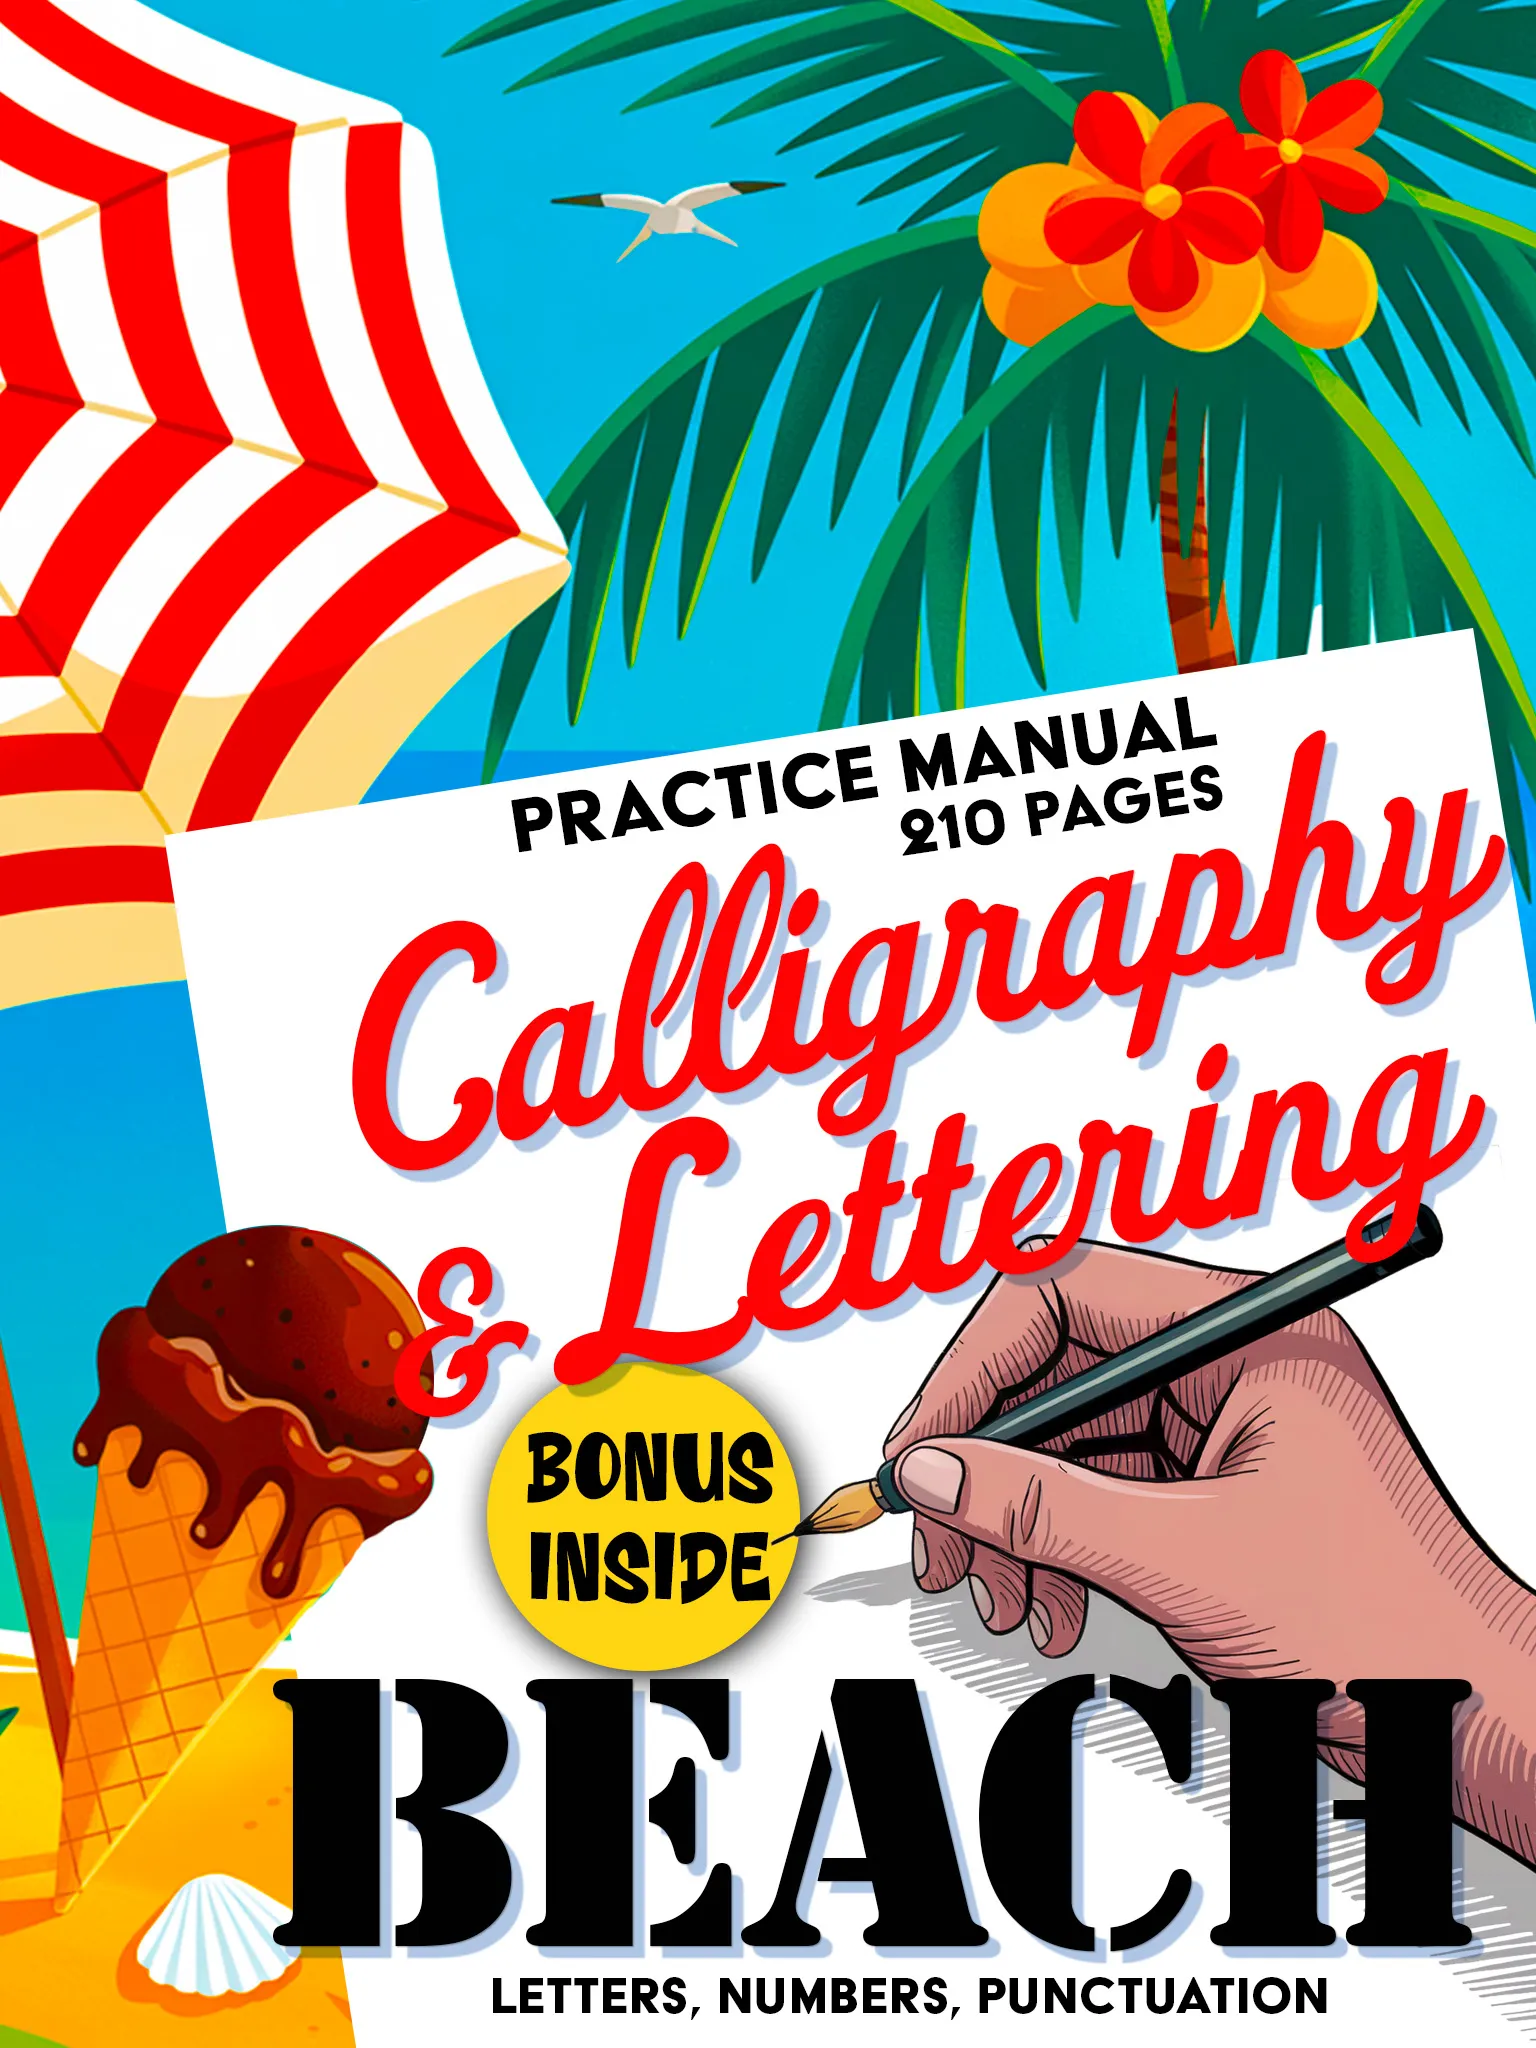
For Calligraphy: Beach Premium
210-page premium calligraphy manual with fluid scripts and decorative elements. Perfect for learning modern calligraphy.
Buy on Amazon - $14.99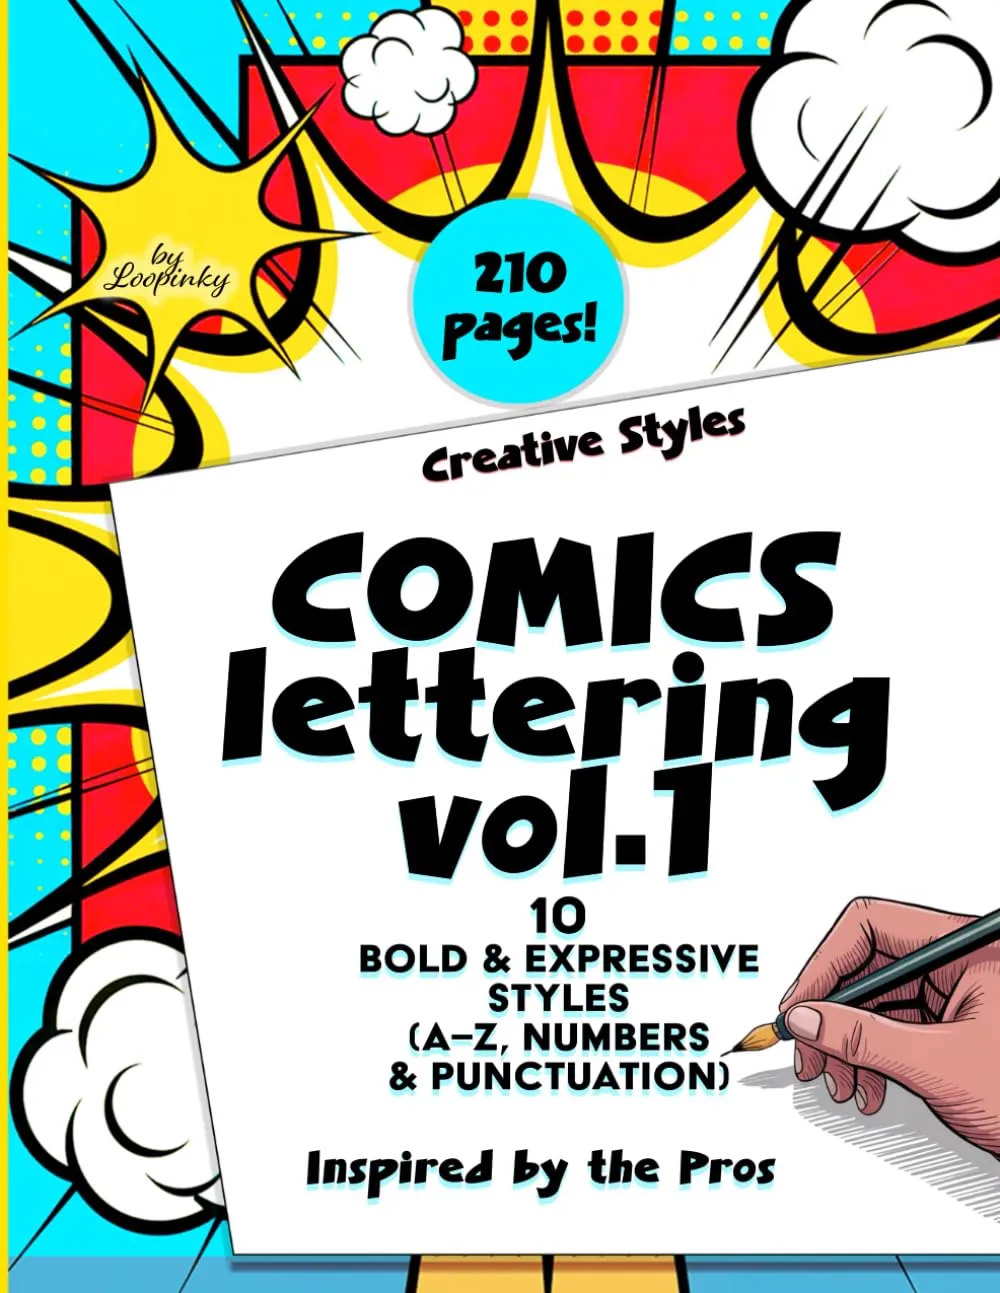
For Hand Lettering: Comics Lettering Vol.1
10 bold comics styles with full alphabets. A unique and fun way to learn hand lettering.
Buy on Amazon - $14.99
For Cursive: By the Sea - Drift
5 ocean-inspired cursive styles with full alphabets and decorative elements. A calming, creative experience.
Buy on Amazon - $9.99The most important thing is to start. Don't wait until you have the perfect pen or the perfect paper. Grab whatever you have and begin making strokes today. Calligraphy is a journey, and every line you draw brings you closer to beautiful writing.